Restore a single item from any backed-up category to a previous version. BackupMaster shows a side-by-side comparison so you can verify the data before restoring.
Restore a single item from your backup storage to a previous version. A side-by-side comparison view shows exactly what will change before you confirm, so you can verify the data first.
Prerequisites
At least one completed backup in your backup storage
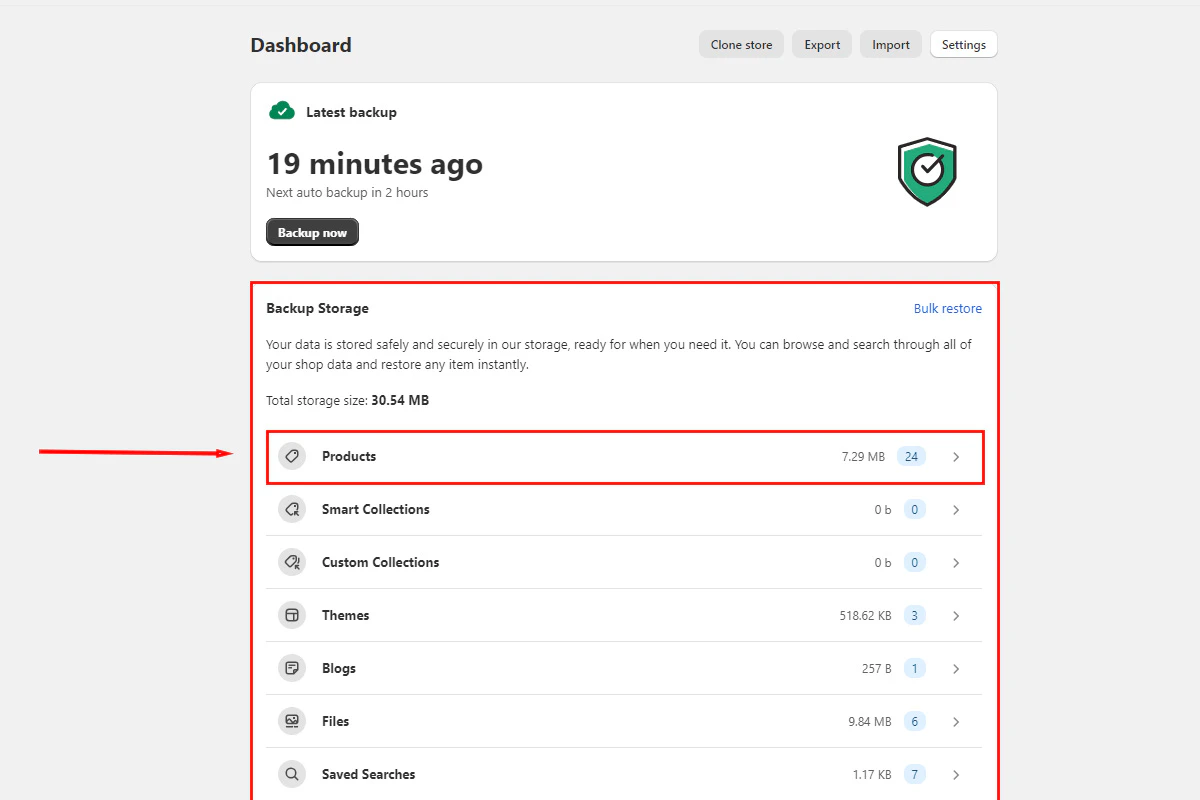
Open BackupMaster from your Shopify admin, select Backup Storage from the dashboard, and choose the data category that contains your item (for example, Products, Themes, or Customers).
Backup storage dashboard with data categories
2
Locate the item
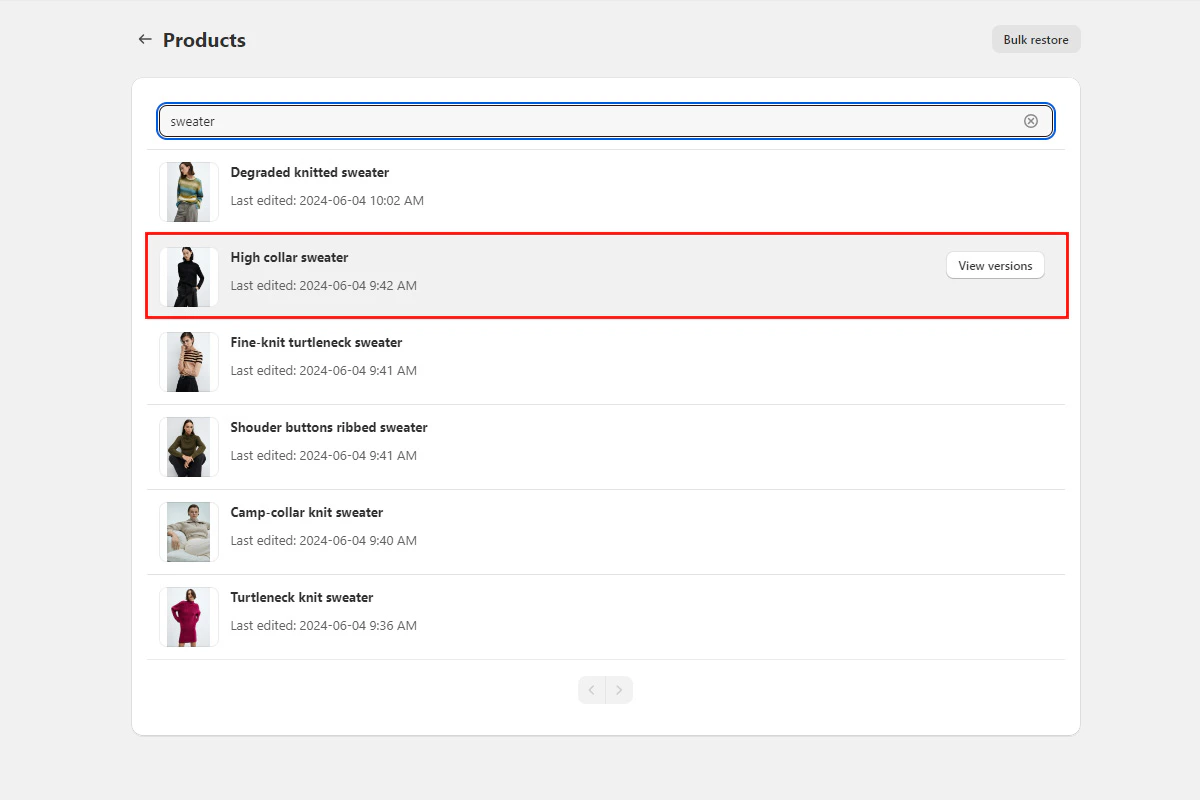
Search for the item by name, then select it to view its backed-up versions.
Selecting a specific product to restore
3
Review version differences
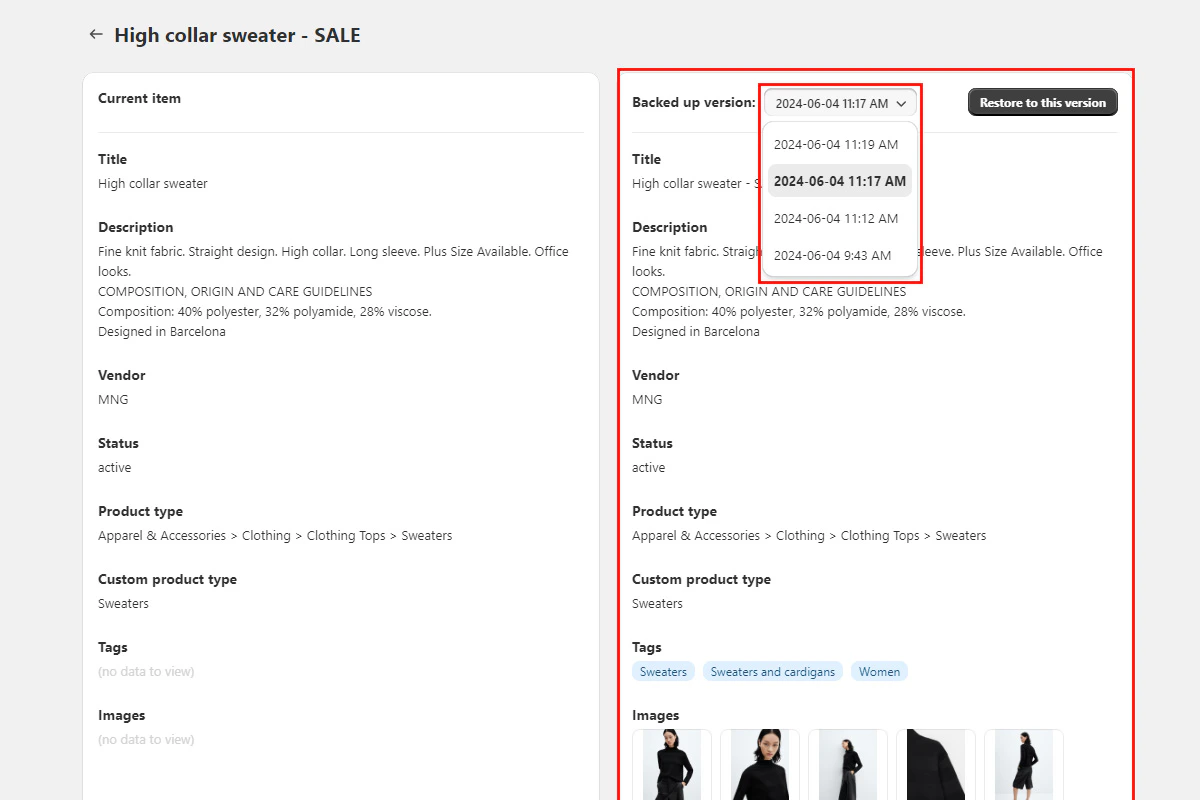
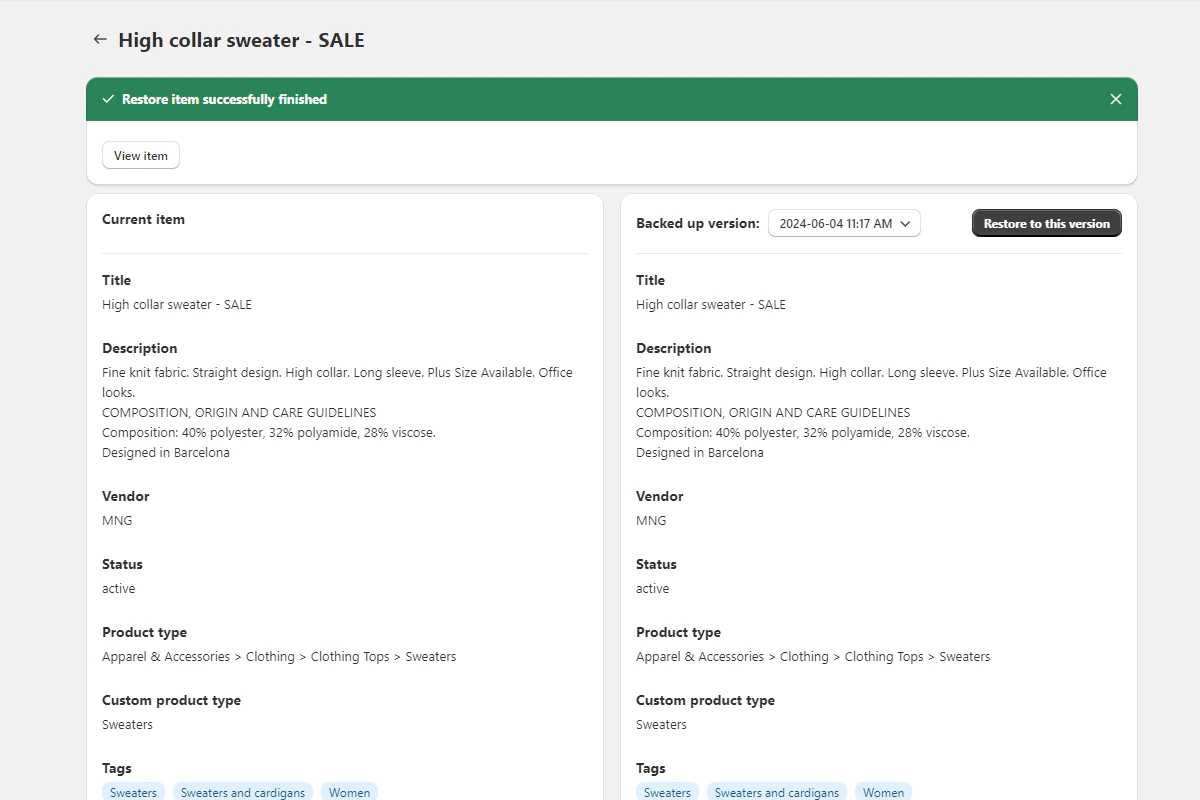
The comparison view shows your current live data on the left and the backed-up version on the right. Use the dropdown to switch between backup versions and find the one you need. Each version shows its capture date and time — pick the backup closest to (but before) the unwanted change.
Compare and restore interface showing version differences
4
Start the restore
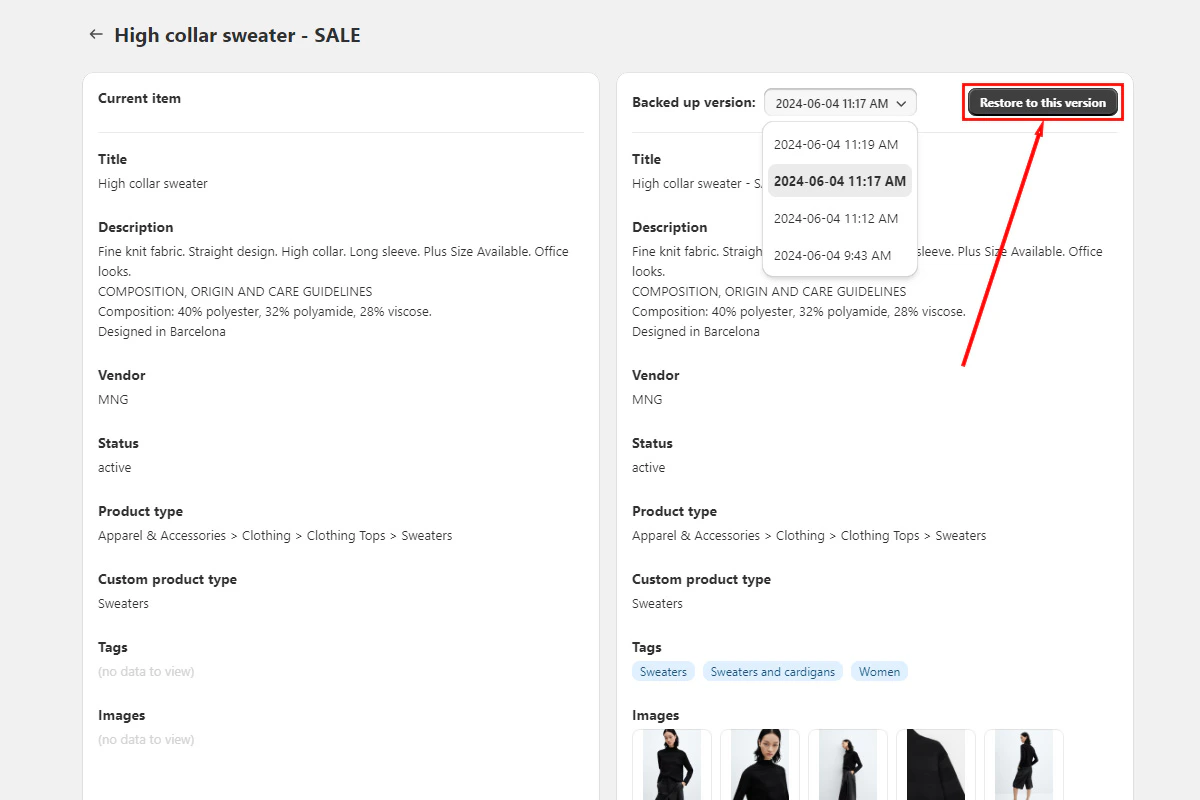
Select the version you want, then select Restore to this version.
Restore product button to initiate restoration
5
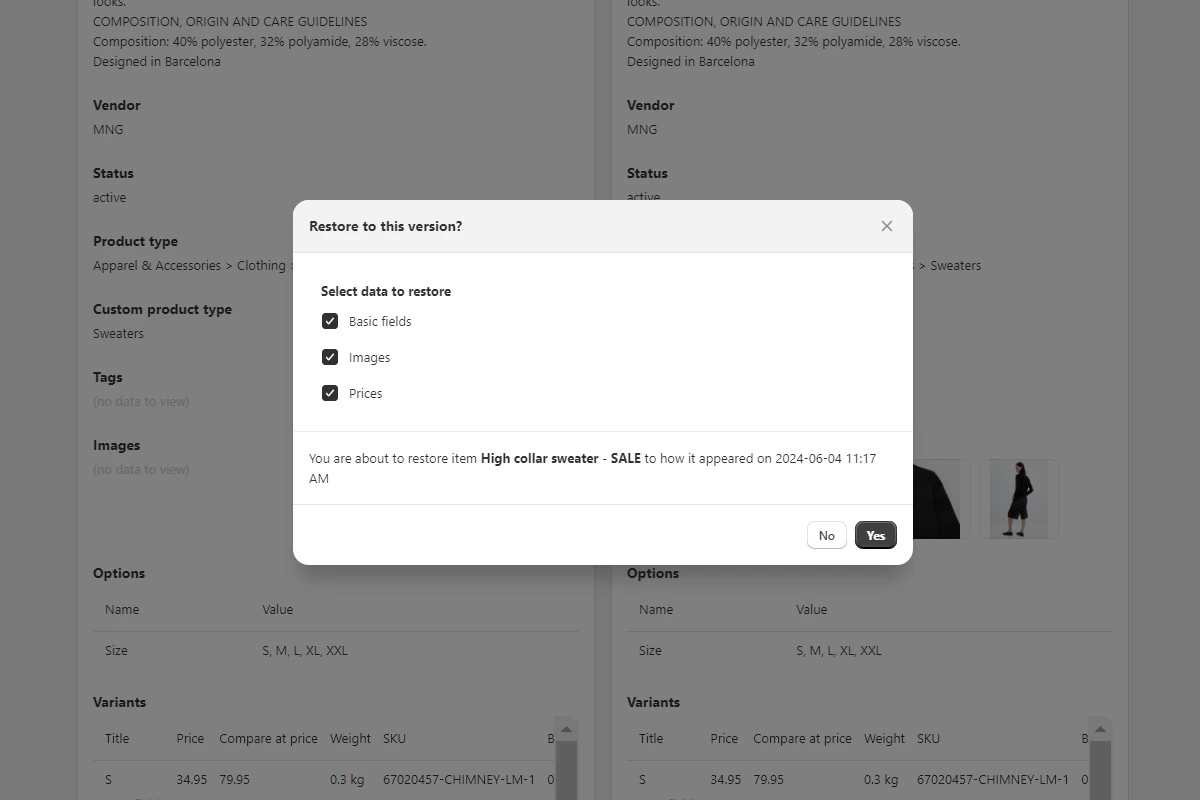
Choose specific fields (products only)
For products, you can choose which fields to include: basic fields (such as description), images, and price. Use this to update only the data you need.
Selecting specific fields to restore for a product
6
Confirm and verify
Confirm the restore in the dialog. BackupMaster shows a success message when it finishes. Individual restores typically complete in seconds.
Match by ID — BackupMaster looks for the item by its unique Shopify ID. If it finds one, it updates the existing item.
Match by handle — if no ID match exists (for example, the item was deleted and recreated), BackupMaster matches by handle (URL slug) and updates that item.
Create new — if neither ID nor handle matches, BackupMaster creates a new item from the backup.
For products, only the fields you selected are overwritten; other fields stay unchanged.When BackupMaster creates a new item (step 3), Shopify assigns it a fresh numeric ID. This is a Shopify platform constraint — no app can set the ID of a new object through the API. If your external integrations, hardcoded links, or third-party apps reference the old Shopify ID, update them after the restore. All content fields are preserved: handles, titles, descriptions, prices, images, metafields, tags, and everything else BackupMaster backs up.
If the item matches by ID or handle (steps 1 or 2), its existing Shopify ID stays the same. New IDs only apply when BackupMaster creates a brand-new item because no match was found.
If you used field-level restore and didn’t select those fields, they aren’t included. Restore again with all fields selected, or check the item in backup storage to confirm the data was captured. Contact support at support@backupmaster.io if you need help.
Assistant
Responses are generated using AI and may contain mistakes.